I swear the universe conspired to make me discover this pumpkin granola on a rainy Tuesday when I was desperately trying to salvage a batch of bland oats that had been left out for far too long. The kitchen smelled like a damp forest floor, the kind of scent that makes you want to curl up with a blanket and a steaming mug, but my stomach was growling louder than a thunderstorm. I grabbed a can of pumpkin puree from the pantry, a splash of maple syrup, and a handful of spices, and I thought, “What could possibly go wrong?” Spoiler alert: everything went spectacularly right, and the result was a crunchy, caramel‑kissed masterpiece that still haunts my dreams.
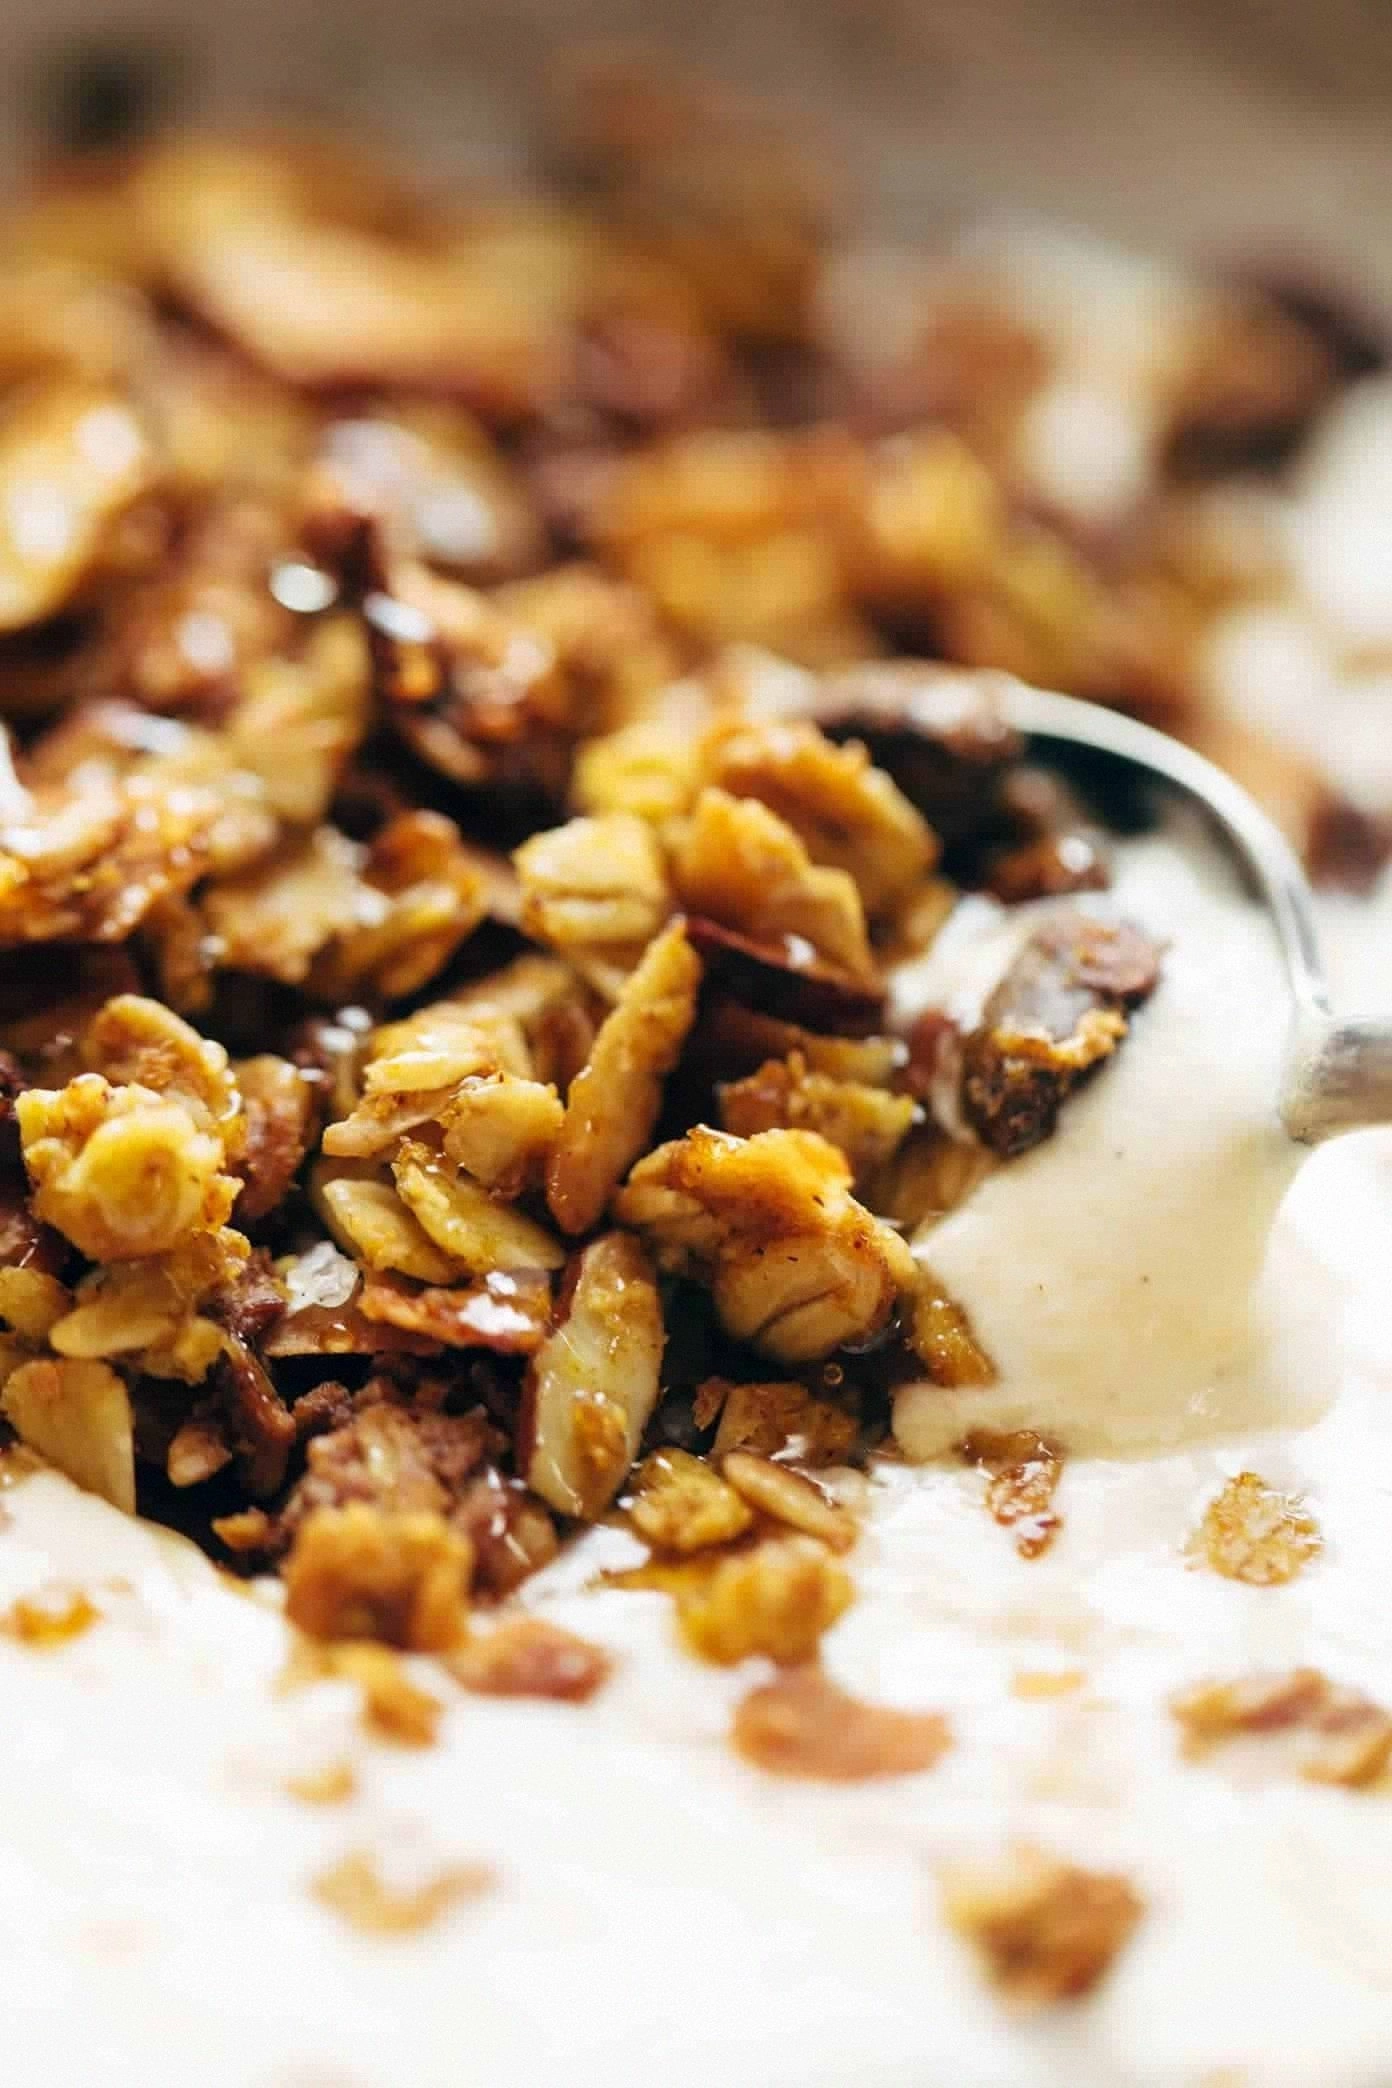
Picture this: the oven door swings open, releasing a wave of warm, sweet‑spiced aroma that wraps around you like a cozy sweater. The granola clusters glisten with a golden sheen, each bite promising a perfect balance of sweet, salty, and earthy pumpkin notes. The texture is a glorious contradiction—crunchy on the outside, with a tender, almost melt‑in‑your‑mouth interior that shatters like thin ice when you bite into it. I dared my roommate to try it and not go back for seconds; he didn’t even finish his coffee.
Most pumpkin granola recipes get this completely wrong by either drowning the oats in syrup or forgetting the spice that gives pumpkin its signature soul. This version, however, uses a precise ratio of wet to dry ingredients, a two‑stage baking process, and a secret splash of vanilla that elevates the flavor to a whole new level. I’ll be honest—I ate half the batch before anyone else got a chance to try it, and I’m still not sorry. The secret ingredient that most people overlook? A pinch of sea salt that makes the sweetness sing.
Let me walk you through every single step — by the end, you’ll wonder how you ever made granola any other way. Okay, ready for the game‑changer? This next part? Pure magic. Stay with me here — this is worth it.
What Makes This Version Stand Out
- Flavor: The pumpkin puree blends with maple syrup and a custom spice blend, creating a depth that rivals a pumpkin pie filling.
- Texture: Dual‑baking creates crisp edges that shatter like thin ice while keeping the center chewy.
- Simplicity: Only ten core ingredients, all pantry‑friendly, with no fancy equipment required.
- Uniqueness: A dash of sea salt and a splash of vanilla turn ordinary to unforgettable.
- Crowd Reaction: Even non‑pumpkin lovers beg for the recipe after one bite.
- Ingredient Quality: Using pure pumpkin puree (not canned pie filling) keeps the flavor authentic.
- Cooking Method: The two‑stage bake prevents soggy clusters and ensures even caramelization.
- Make‑Ahead Potential: Stores perfectly for weeks, making breakfast a breeze.
Inside the Ingredient List
The Flavor Base
Pumpkin Puree (1 cup): This is the heart of the dish, providing moisture, natural sweetness, and that unmistakable autumnal aroma. If you skimp on quality, you’ll end up with a watery mess that never crisps. Look for a puree that’s just pumpkin, no added sugars or spices. A good swap for vegans is canned pumpkin puree mixed with a splash of oat milk.
Maple Syrup (½ cup): Pure maple syrup adds a caramel depth that honey can’t match. It also helps the granola brown evenly without burning. If you’re on a budget, a light amber maple works just fine, but avoid dark grade as it can dominate the flavor.
Brown Sugar (¼ cup): The brown sugar caramelizes during baking, giving those glossy, deep‑golden clusters. Skipping it will make the granola taste flat, even if you increase the maple. You can substitute coconut sugar for a lower‑glycemic option.
The Texture Crew
Rolled Oats (3 cups): The backbone of any granola. Old‑fashioned rolled oats hold their shape better than quick‑cooking oats, preventing a mushy texture. If you’re gluten‑free, certified gluten‑free oats are a perfect swap.
Chopped Pecans (1 cup): Pecans bring a buttery crunch and a subtle earthiness that pairs beautifully with pumpkin. Toast them lightly before mixing to unlock their oils. Walnuts or almonds work as alternatives, but the flavor profile will shift.
Pumpkin Seeds (½ cup): Also known as pepitas, they add a salty bite and a pop of green that brightens the visual appeal. Rinse and dry them before toasting for extra crispness.
The Unexpected Star
Dried Cranberries (1 cup): Their tartness cuts through the sweetness, creating a balanced bite. Add them after the final bake to keep them plump. If you’re allergic to cranberries, go for dried cherries or golden raisins.
Vanilla Extract (1 tsp): A few drops of vanilla turn the pumpkin flavor from “good” to “wow”. It rounds out the spices and adds a subtle aroma that lingers on the palate.
The Final Flourish
Pumpkin Spice Blend (2 tsp): This is the classic mix of cinnamon, nutmeg, ginger, and cloves that sings with pumpkin. You can buy a pre‑made blend or create your own for a personalized kick. Too much spice can overwhelm; stick to the measured amount.
Sea Salt (½ tsp): A pinch of sea salt amplifies the sweetness and brings out the depth of the pumpkin. It’s the unsung hero that makes every bite sing. If you love salty‑sweet combos, you can increase it to ¾ tsp.
Melted Butter (¼ cup): Butter adds richness and helps the granola crisp up without drying out. For a dairy‑free version, use coconut oil or a neutral oil, but expect a slightly different mouthfeel.
Everything's prepped? Good. Let’s get into the real action…
The Method — Step by Step
Preheat your oven to 325°F (165°C) and line a large rimmed baking sheet with parchment paper. This temperature is low enough to let the granola dry out slowly, preventing burnt edges while still achieving that caramelized crunch. As the oven warms, the kitchen will start to fill with a faint scent of toasted nuts—trust me, that’s the first sign of success.
In a massive mixing bowl, combine the rolled oats, chopped pecans, pumpkin seeds, and pumpkin spice blend. Toss everything together with a wooden spoon until the dry ingredients are evenly coated. This step is crucial; uneven coating leads to pockets of blandness that will ruin the overall harmony.
In a separate saucepan over low heat, melt the butter, then stir in the maple syrup, brown sugar, pumpkin puree, vanilla extract, and sea salt. Keep the mixture moving; you want a glossy, smooth liquid that smells like a fall market. Once the sugar dissolves, remove from heat and let it sit for a minute—this is where the magic begins.
Pour the wet mixture over the dry oat mixture. Using your hands (yes, get a little messy), massage the ingredients together until every oat flake is shimmering with the pumpkin‑sweet glaze. This is the moment of truth—if you see dry spots, add a splash of extra pumpkin puree or a teaspoon of water.
Spread the coated granola evenly across the prepared baking sheet, pressing down lightly with the back of a spatula. The goal is a uniform layer about ½ inch thick; too thick and the center will stay soft, too thin and you’ll lose that satisfying crunch.
Bake for 20 minutes, then remove the sheet and give the granola a quick stir, breaking up any large clumps. Return to the oven for another 10‑15 minutes, watching closely as the edges start pulling away from the parchment and turn a deep amber. That sizzle when it hits the pan? Absolute perfection.
Once the granola is golden and fragrant, remove it from the oven and let it cool completely on the sheet. As it cools, it will crisp up further—don’t rush this step or you’ll end up with a soft, chewy mess. While it’s cooling, whisk the dried cranberries into the warm granola; the residual heat will revive them without cooking them down.
Transfer the fully cooled granola to an airtight container. Store at room temperature for up to two weeks, or freeze for longer keeping. I dare you to taste this and not go back for seconds—once you’ve tried it, regular store‑bought granola will feel like cardboard.
That's it — you did it. But hold on, I've got a few more tricks that'll take this to another level...
Insider Tricks for Flawless Results
The Temperature Rule Nobody Follows
Most home cooks blast granola at 400°F, thinking higher heat equals faster crisping. In reality, that burns the sugars before the oats have a chance to dry out. Keep the oven at a steady 325°F and you’ll get a uniform golden color without any bitter notes. I once tried the 400°F shortcut and ended up with a blackened disaster that smelled like burnt toast—not exactly breakfast material.
Why Your Nose Knows Best
Your sense of smell is a far better timer than any clock. When the kitchen fills with that sweet‑spiced perfume, you’re about 90% of the way there. If you catch a hint of caramel turning into a slightly bitter aroma, it’s time to pull the sheet out and give it a stir. Trusting your nose prevents the dreaded “over‑cooked” flavor that can ruin the entire batch.
The 5‑Minute Rest That Changes Everything
After the final bake, let the granola sit untouched for five minutes before breaking it up. This short rest lets the residual heat finish the drying process, resulting in clusters that stay crisp for days. Skipping this pause often leads to soggy bits that wilt the moment they’re exposed to air.
The Secret Salt Sprinkle
A pinch of flaky sea salt added right after baking can transform the flavor profile from sweet to complex. It accentuates the pumpkin spice and balances the maple’s sweetness. I’ve heard some purists scoff at “salt on sweet”, but once you try it, you’ll understand why it works so well.
Cool‑Down Crunch Test
Before you store the granola, take a small handful and let it sit for a minute. If it snaps cleanly and you hear that satisfying crack, you’ve nailed the texture. If it feels soft, pop it back in the oven for another 5 minutes. This quick test saves you from a batch of “meh” granola that loses its crunch in the pantry.
Creative Twists and Variations
This recipe is a playground. Here are some of my favorite ways to switch things up:
Maple‑Pecan Deluxe
Swap the pumpkin puree for an extra ¼ cup of pure maple syrup and double the pecans. The result is a richer, more buttery granola that leans into classic fall flavors without the pumpkin. Perfect for those who love maple’s caramel notes.
Spicy Autumn Heat
Add a pinch of cayenne pepper or a dash of chipotle powder to the spice blend. The subtle heat cuts through the sweetness and adds a surprising depth that makes the granola unforgettable. Great for adventurous eaters who enjoy a little kick.
Chocolate‑Covered Dream
Once the granola has cooled, drizzle melted dark chocolate over the top and let it set. The bittersweet chocolate pairs beautifully with the pumpkin and cranberries, creating a dessert‑worthy snack. Serve it as a topping for ice cream for an extra indulgent treat.
Tropical Twist
Replace the dried cranberries with dried pineapple and add toasted coconut flakes. The tropical notes contrast the warm spices, making a bright, vacation‑inspired breakfast. A splash of lime zest after baking lifts the flavors even higher.
Protein‑Power Boost
Incorporate a scoop of vanilla whey protein powder or plant‑based protein into the dry ingredients. This adds a subtle vanilla note and turns the granola into a post‑workout fuel that still tastes like dessert. Just be mindful of the extra moisture; you may need a touch more maple syrup.
Storing and Bringing It Back to Life
Fridge Storage
If you live in a humid climate, store the granola in an airtight container in the refrigerator. It will stay crisp for up to three weeks. Before serving, let it sit at room temperature for 10 minutes; this restores the perfect crunch.
Freezer Friendly
Granola freezes like a champ. Portion it into zip‑top bags, squeeze out excess air, and freeze for up to three months. When you need a quick snack, just thaw at room temperature or give it a quick 3‑minute blast in a 300°F oven to re‑crisp.
Best Reheating Method
To revive any lost crunch, spread the granola on a baking sheet, drizzle a tiny splash of water (just enough to create steam), and bake at 300°F for 5‑7 minutes. The steam re‑hydrates the interior while the heat restores the crisp exterior. This trick works wonders for granola that’s been sitting out for a few days.