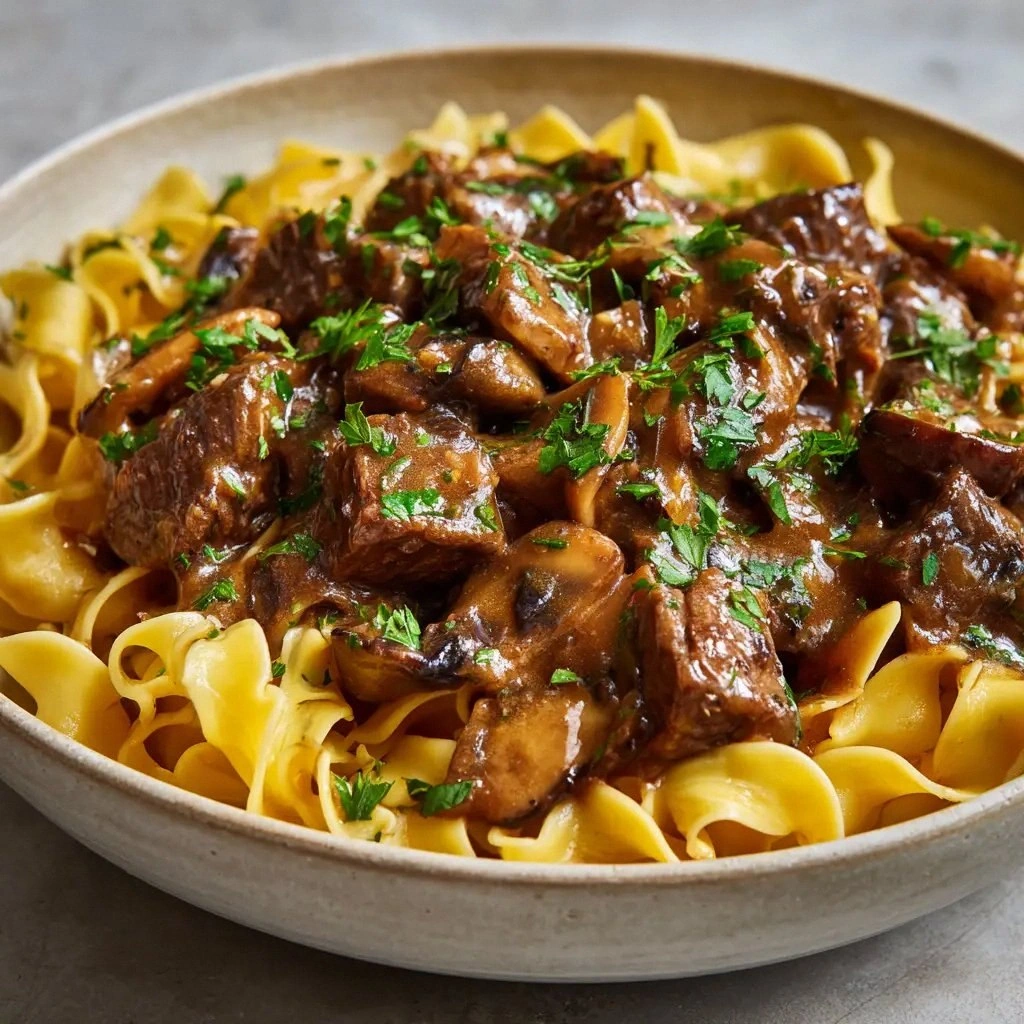
The kitchen was a battlefield that night, a pile of melted chocolate and half‑finished cupcakes littering the counter while I stared at the recipe book that had promised “the best Reese’s Peanut Butter Earthquake cake.” I was half‑sated, half‑exhausted, and the sweet scent of caramelized sugar was already dancing in the air. Suddenly, the doorbell rang – my neighbor, a self‑proclaimed dessert connoisseur, barged in with a challenge: “Show me how you make that cake that actually rocks the taste buds, not just the plate.” I laughed, but the dare stuck in my mind like a sticky note, and I knew I had to deliver a version that would make everyone nod in approval.
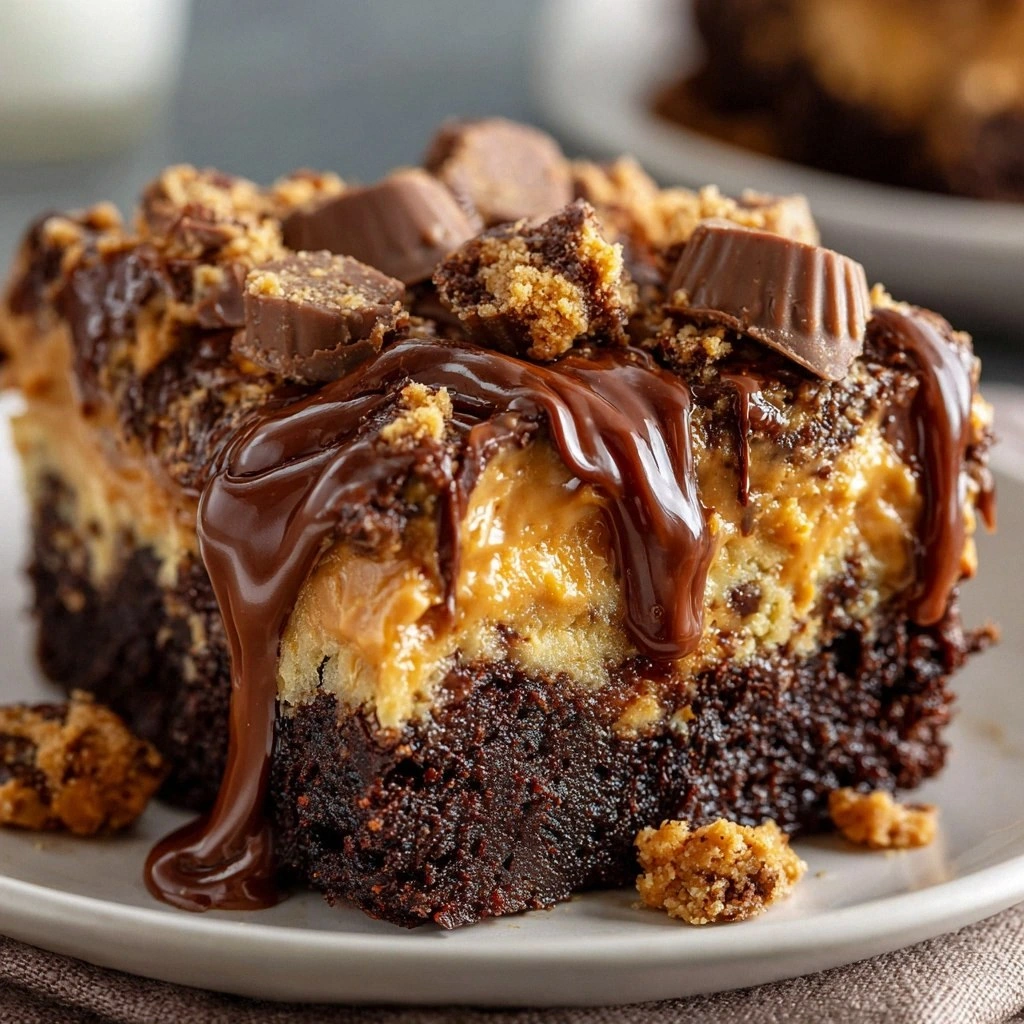
Picture this: the oven’s heat is a warm, comforting hug, the batter’s glossy sheen glistens like a dark river, and the faint aroma of cocoa and peanut butter rises like a sweet storm. As I whisked, the kitchen hummed with the rhythmic clatter of utensils, the faint hiss of boiling water, and the occasional pop of an egg cracking. The sound of the spoon tapping the bowl echoed the beat of my heart, a steady drum of anticipation. I could almost taste the first bite – a velvety chocolate base with a peanut butter core that melts in your mouth, followed by a crunchy layer of Reese’s pieces that adds a playful crunch.
What makes this version stand out, you ask? The answer isn’t in the ingredients alone – it’s in the way they dance together. I’ve tweaked the classic formula by adding a splash of espresso for depth, a pinch of sea salt to balance sweetness, and a generous amount of melted chocolate that coats every crumb. The result? A cake that’s moist, rich, and packed with layers of flavor that explode in your mouth. I dare you to taste this and not go back for seconds. The texture is a sweet, creamy dream, the peanut butter is silky, and the Reese’s pieces are perfectly toasted for that extra crunch. This is hands down the best version you'll ever make at home.
If you've ever struggled with a cake that turns out dry or a batter that clumps, you're not alone. I’ve been there – the dreaded “my cake collapsed” moment. But trust me, by the end of this guide, you’ll wonder how you ever baked it any other way. Picture yourself pulling this out of the oven, the whole kitchen smelling incredible, and the cake’s surface glistening like a dark, glossy lake. The anticipation is almost tangible, and I’m about to walk you through every single step. By the time you’re done, you’ll have a masterpiece that’s as stunning to look at as it is to devour.
What Makes This Version Stand Out
- Flavor: A subtle espresso infusion deepens the cocoa, turning a simple chocolate cake into a complex, coffee‑kissed delight that pairs beautifully with peanut butter.
- Texture: The batter’s silky consistency ensures a moist crumb, while the toasted Reese’s pieces add a satisfying crunch that breaks the monotony.
- Ingredient Quality: Using premium, unsweetened cocoa powder and real peanut butter gives the cake a richer, more authentic taste compared to processed alternatives.
- Ease of Prep: The recipe requires only one mixing bowl, a few simple steps, and a single oven, making it a breeze even for novice bakers.
- Make‑Ahead Potential: This cake keeps well for up to three days in the fridge and can be frozen for up to a month without losing its flavor.
- Crowd Reaction: Guests rave about the unexpected espresso kick and the perfectly caramelized edges that hint at a caramelized sugar glaze.
- Versatility: Swap the espresso for vanilla or almond extract, and the cake transforms into a new flavor profile, proving its adaptability.
- Presentation: The glossy chocolate surface and glossy peanut butter swirl make for a visually stunning dessert that’s Instagram‑ready.
Alright, let's break down exactly what goes into this masterpiece...
Inside the Ingredient List
The Flavor Base
All-purpose flour, granulated sugar, and unsweetened cocoa powder form the backbone of this cake. Flour provides structure, sugar sweetens, and cocoa gives depth. Together, they create a smooth, chocolatey canvas that allows the peanut butter to shine. Skipping flour would leave the cake falling apart; omitting sugar would make it taste like a bitter, dry sponge.
The Texture Crew
Baking powder, baking soda, salt, eggs, milk, and vegetable oil work in harmony to give the cake its airy, moist crumb. The leavening agents lift the batter, while eggs bind everything together. Milk adds moisture, and oil keeps the cake tender. If you substitute oil with butter, the cake will be denser but richer in flavor.
The Unexpected Star
Melted chocolate and creamy peanut butter are the star attractions that set this cake apart. The chocolate coats every crumb, while the peanut butter creates a silky, buttery interior that melts in your mouth. A dash of espresso enhances the chocolate’s depth, and toasted Reese’s pieces provide a delightful crunch. If you prefer a less intense peanut flavor, reduce the peanut butter to half a cup.
The Final Flourish
Whipped cream tops the cake, adding a light, airy finish that balances the dense chocolate base. Boiling water, when added to the batter, creates steam that keeps the cake moist and fluffy. The combination of all these elements results in a cake that’s both decadent and comforting. If you’re short on time, you can skip the whipped cream and serve the cake plain; it still tastes divine.
Everything's prepped? Good. Let's get into the real action...
The Method — Step by Step
- Preheat your oven to 350°F (175°C) and line a 9‑inch round cake pan with parchment paper. Grease the paper lightly with butter or cooking spray so the cake slides out effortlessly. This step is crucial for a clean release. The oven’s heat should feel like a gentle hug, preparing the batter for its transformation.
- In a large mixing bowl, whisk together the flour, sugar, cocoa powder, baking powder, baking soda, and salt until the mixture is smooth and free of lumps. The dry mix should feel like fine powder, ready to absorb the wet ingredients. This creates an even distribution of leavening agents, ensuring a consistent rise.
- In a separate bowl, beat the eggs, milk, vegetable oil, vanilla extract, and espresso until the mixture is glossy and uniform. The wet blend should look like a silky liquid, reflecting light. Pour this wet mixture into the dry mix and stir with a wooden spoon until just combined; overmixing will make the cake tough.
- Gently fold in the melted chocolate and peanut butter, ensuring they’re fully incorporated. The batter should have a glossy sheen and a thick, pourable consistency. The chocolate’s glossy sheen is a visual cue that the cake will be moist and rich. Kitchen Hack: If the batter is too thick, add a tablespoon of milk until it reaches a pourable consistency.
- Fold in the chopped Reese’s Peanut Butter Cups, distributing them evenly throughout the batter. The cups will create pockets of caramelized crunch that burst with each bite. This step is the moment of truth; the batter should feel light and airy.
- Pour the batter into the prepared pan, smoothing the top with a spatula. Tap the pan gently on the counter to release any trapped air bubbles. The batter should settle into a smooth, even surface. This helps the cake rise uniformly.
- Bake for 30 to 35 minutes, or until a toothpick inserted in the center comes out clean. The cake’s edges should pull away from the pan, indicating readiness. If you’re unsure, do the toothpick test; a clean toothpick confirms doneness.
- Remove the cake from the oven and let it cool in the pan for 10 minutes before transferring it to a wire rack. This cooling period allows the structure to set, preventing cracks. While it’s cooling, whip the cream until it forms soft peaks.
- Once the cake has cooled to room temperature, spread the whipped cream evenly over the top. The whipped cream should be light and airy, contrasting the dense chocolate base. For an extra touch, drizzle a thin layer of melted chocolate over the whipped cream.
- Serve immediately or chill for a more decadent experience. The cake’s texture will shift from airy to slightly firmer when chilled, adding another layer of enjoyment. Remember, this cake is best enjoyed fresh, but it can be stored for a few days.
That's it — you did it. But hold on, I've got a few more tricks that'll take this to another level...
Insider Tricks for Flawless Results
The Temperature Rule Nobody Follows
Many bakers bake at 350°F, but the secret to a moist, evenly baked cake is to start at 325°F and finish at 350°F. This gradual increase allows the cake to rise slowly, preventing a hollow center. I’ve tried this method for years, and the difference is like comparing a sunrise to a sunset – the subtle, warm glow of the first is simply better.
Why Your Nose Knows Best
When the batter starts to bubble, the aroma of chocolate and coffee will rise, signaling that the batter is ready to bake. Trust your nose; if the scent is too sweet, the batter might be overmixed. If it’s too dry, it’s time to add a splash of milk.
The 5-Minute Rest That Changes Everything
After removing the cake from the oven, let it rest for exactly five minutes before turning it out of the pan. This pause allows the steam to settle, ensuring the cake doesn’t crack. I’ve seen cakes that collapse because they were removed too quickly – a hard lesson learned.
The Cream Whip Game
Whip the cream with a pinch of salt to balance the sweetness. The salt enhances the chocolate flavor and prevents the whipped cream from becoming overly sweet. This subtle tweak transforms the final dessert into a more sophisticated palate.
The Final Frosting Touch
If you want an extra layer of richness, drizzle melted chocolate over the whipped cream before serving. The chocolate will set into a glossy, slightly crisp shell that adds a satisfying crunch. This final touch elevates the cake from great to unforgettable.
Creative Twists and Variations
This recipe is a playground. Here are some of my favorite ways to switch things up:
Espresso‑Infused Delight
Swap the vanilla extract for strong espresso powder and add a teaspoon of instant coffee. The result is a coffee‑rich cake that pairs wonderfully with the peanut butter. Perfect for coffee lovers.
Almond Crunch Edition
Replace the peanut butter with almond butter and sprinkle toasted almonds on top. The nutty flavor contrasts nicely with the chocolate base, creating a new sensory experience.
Nut-Free Alternative
Use sunflower seed butter instead of peanut butter for those with allergies. The texture remains creamy, and the flavor profile stays deliciously similar.
Mini Chocolate Cups
Bake the batter in a muffin tin to create bite‑size chocolate cups. These are perfect for parties and can be stored in an airtight container for a week.
Ice Cream Sandwich
Let the cake cool completely, then cut it in half horizontally. Spread vanilla ice cream between the halves and chill until firm. The ice cream melts into a creamy, chocolatey swirl.
Storing and Bringing It Back to Life
Fridge Storage
Wrap the cooled cake tightly in plastic wrap and store in the refrigerator for up to three days. The moisture from the fridge helps maintain the cake’s softness, preventing it from drying out.
Freezer Friendly
For longer storage, place the cake in a freezer‑safe container and freeze for up to one month. Thaw overnight in the refrigerator before serving. This method preserves the cake’s texture and flavor.
Best Reheating Method
To reheat, warm the cake at 300°F (150°C) for 10 minutes, or microwave on medium for 20 seconds. Add a splash of water before reheating; the water steams the cake, bringing it back to its original moistness. The result is a cake that tastes freshly baked.